DIY
I am comfortable trying to do things on my own. I can tackle kitchen duty, but DIY house renovation is another matter. Coming from a family of do-it-yourselfers, I am embarrassed my talents are pretty limited on this front. So when I decided to start on the house renovation, I had no clue what I would be facing or really, where to start. I had a local contractor lined up but I had the hopes of trying to do as much as I could with help from my family. But with living on the West Coast, I knew my involvement would be minimal.
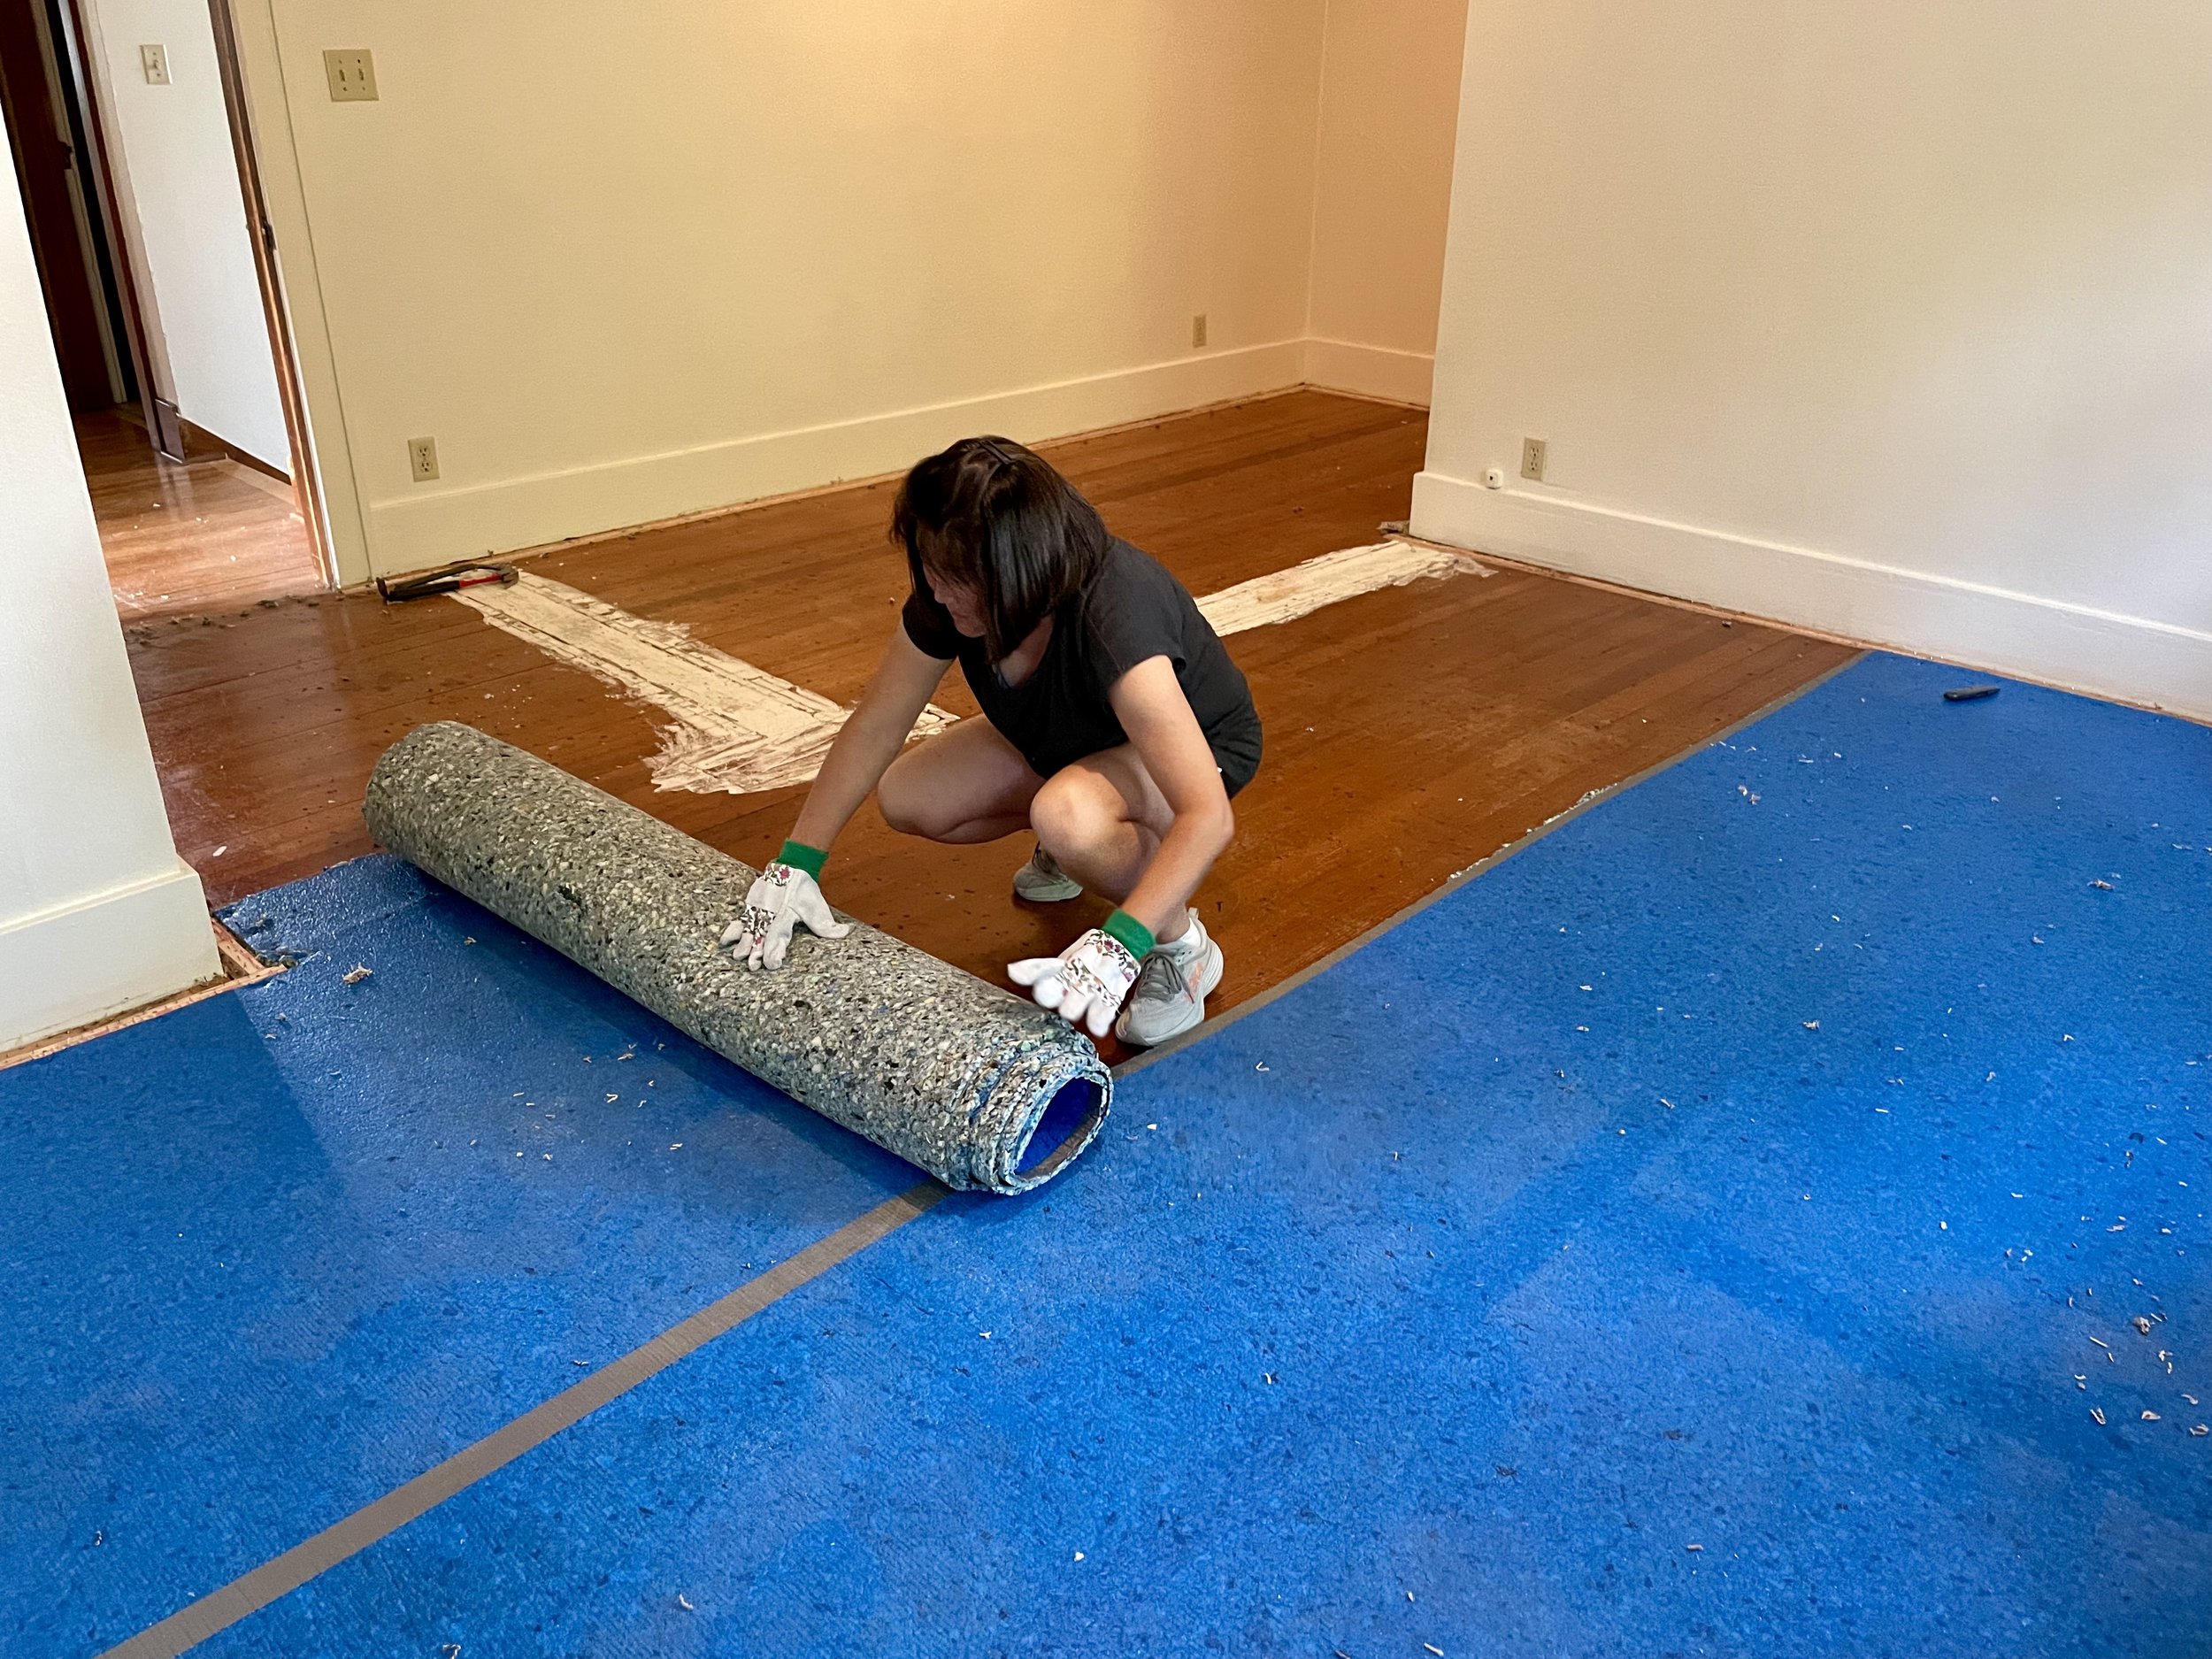
The carpet appeared to be relatively new and clean. It seemed a bit of a shame to pull lit up, considering winters are quite cold and having something soft under your feet is welcome. However, I knew the previous tenants had indoor pets. Allergies run in my family so I thought it would be the safest option. I also noticed this room must have had an enclosure with a doorway just outside the closet, probably when it was first built. You can see it in marked in white on the floor. Maybe it was a small baby’s room?
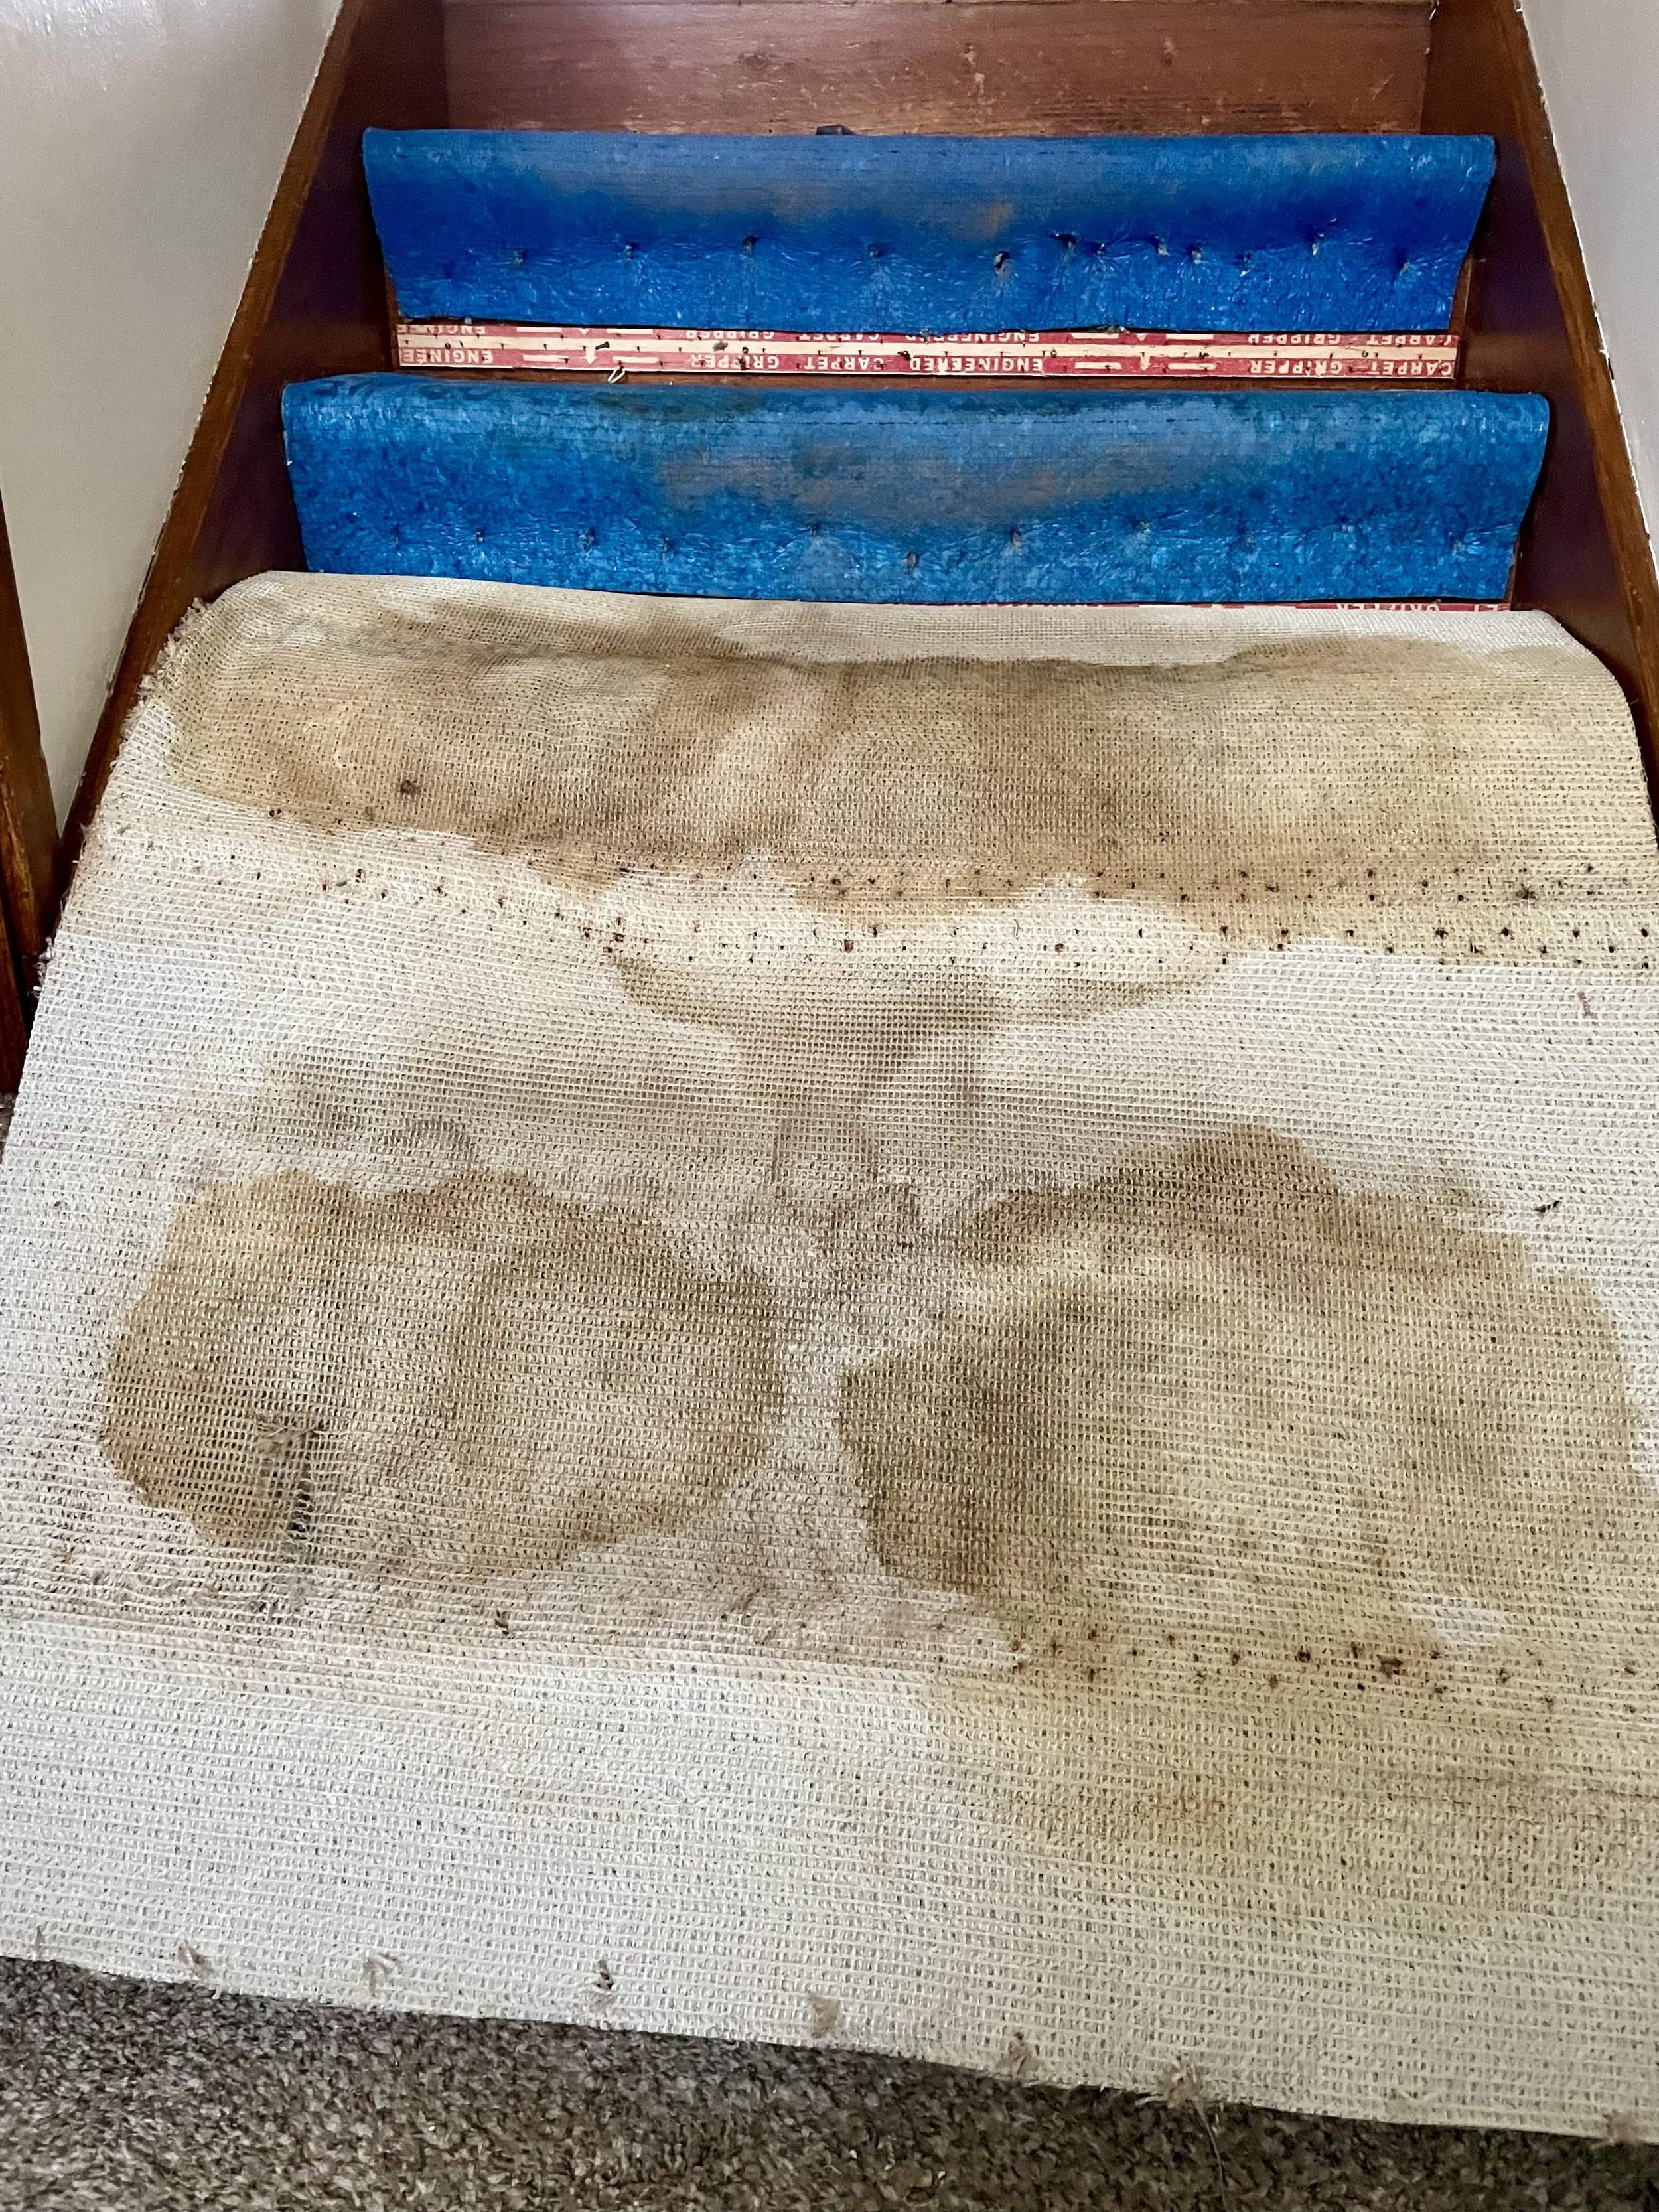
It turns out the carpeting was really dirty, in the bedroom as well as on the stairs. I’m so glad I decided to remove it!
Carpet tack strips are a nightmare to remove, as well as all the staples that were used and dotted the floor. My brother took care of this room while I tackled the stairs.
Like I said, I am not a good DIY person. Plus, it only makes the work more difficult when you aren’t using the right tools. I later learned there is an actual staple remover tool that makes the work a lot easier. But I didn’t have that at the time and I made use with what I had. Yes, those gashes in the wood kept me up at night.
All those blue dots are carpet staples that had to be removed by hand. I swore to myself I would never have carpet laid down again. I’m hoping to install a stair runner with rods instead so some of the lovely wood can be seen.
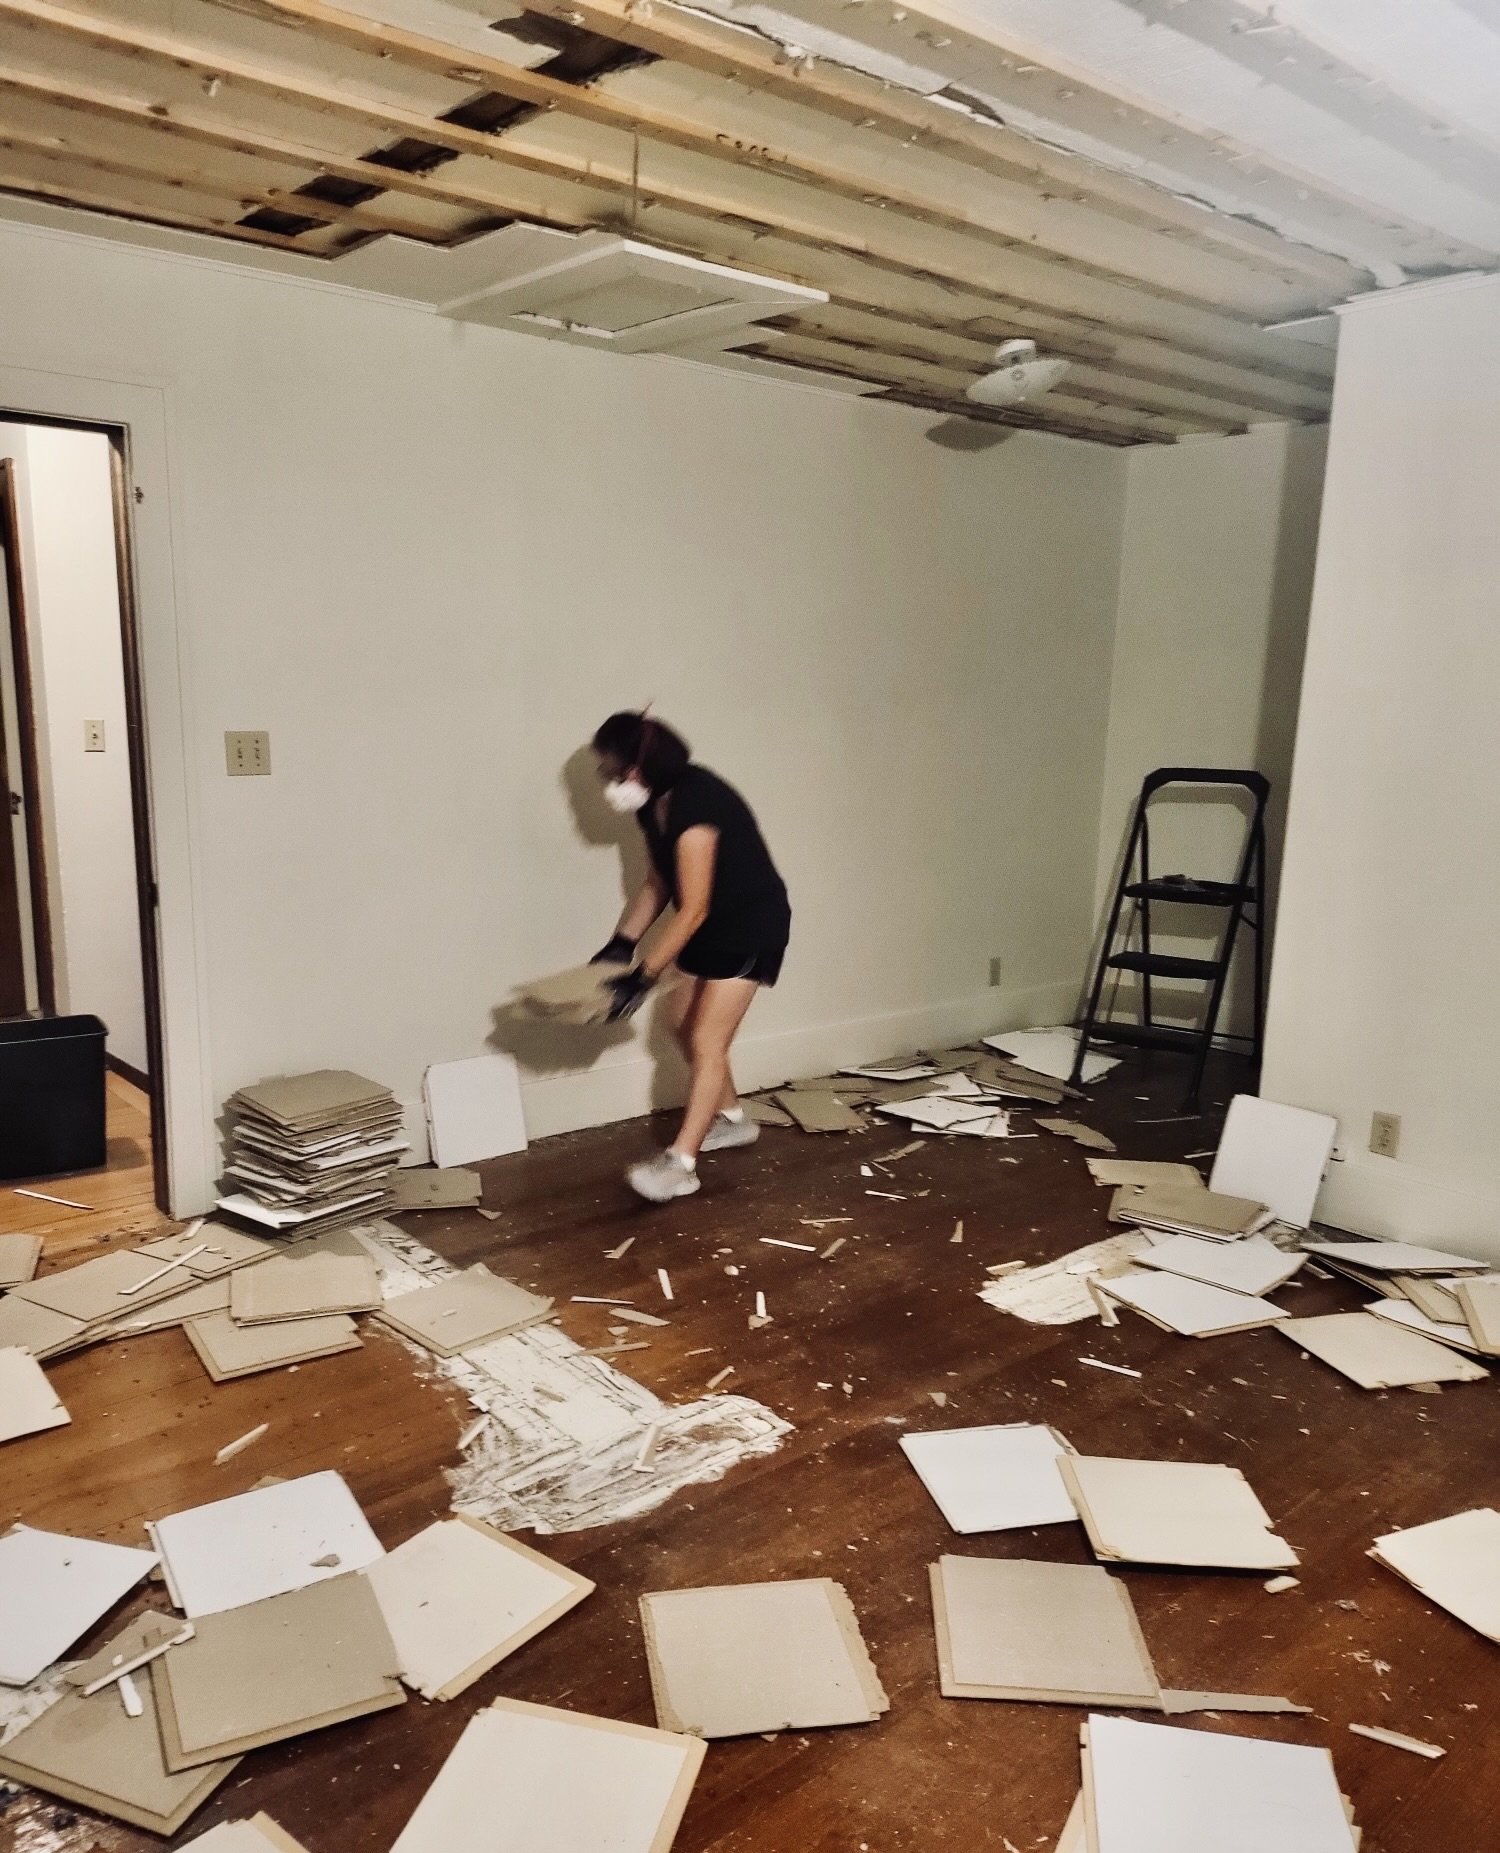
We think sometime in the 1960s, maybe 1970s, the house had some renovation done, including installing these cardboard-type tiles to cover up cracks in the ceiling. I knew they had to come down no matter what. Little did I realize how much of a mess they made!
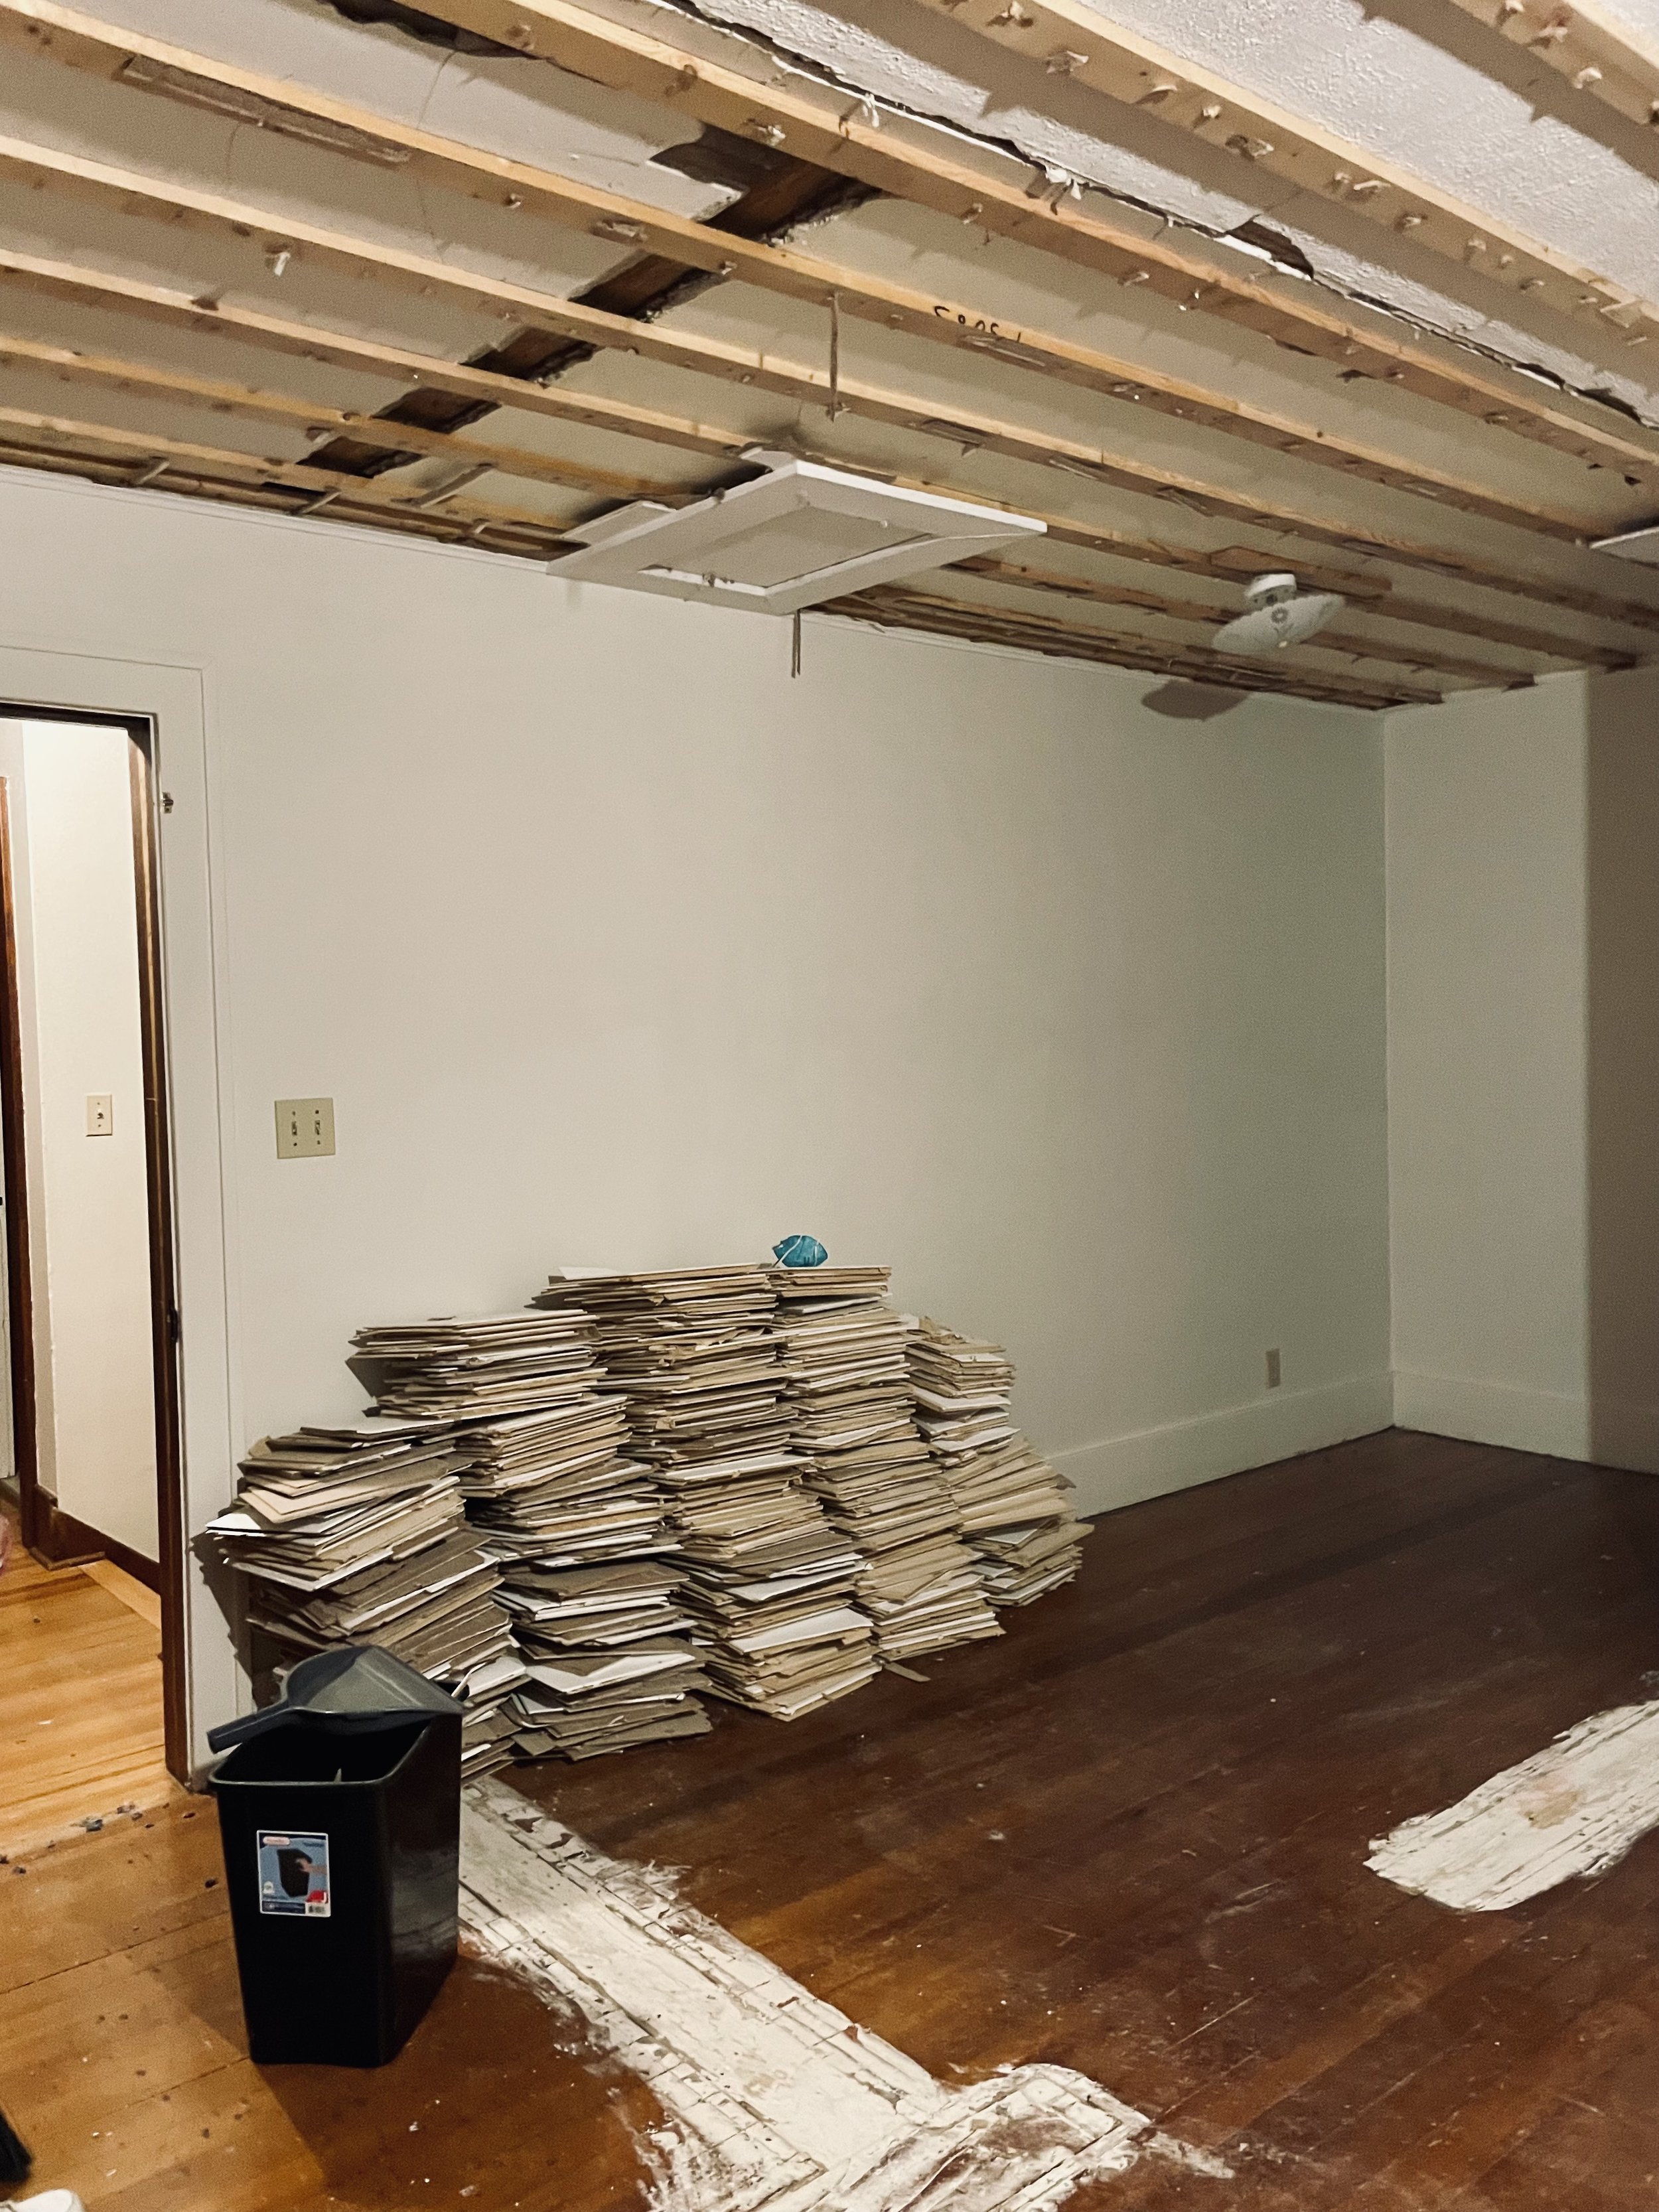
Here are the tiles all stacked up in the bedroom. The ceiling is exposed, and you can see more of where the little room used to be. Much respect to the person who had to take out all those staples in the ceiling! I purchased the right tools, so hopefully, that helped.
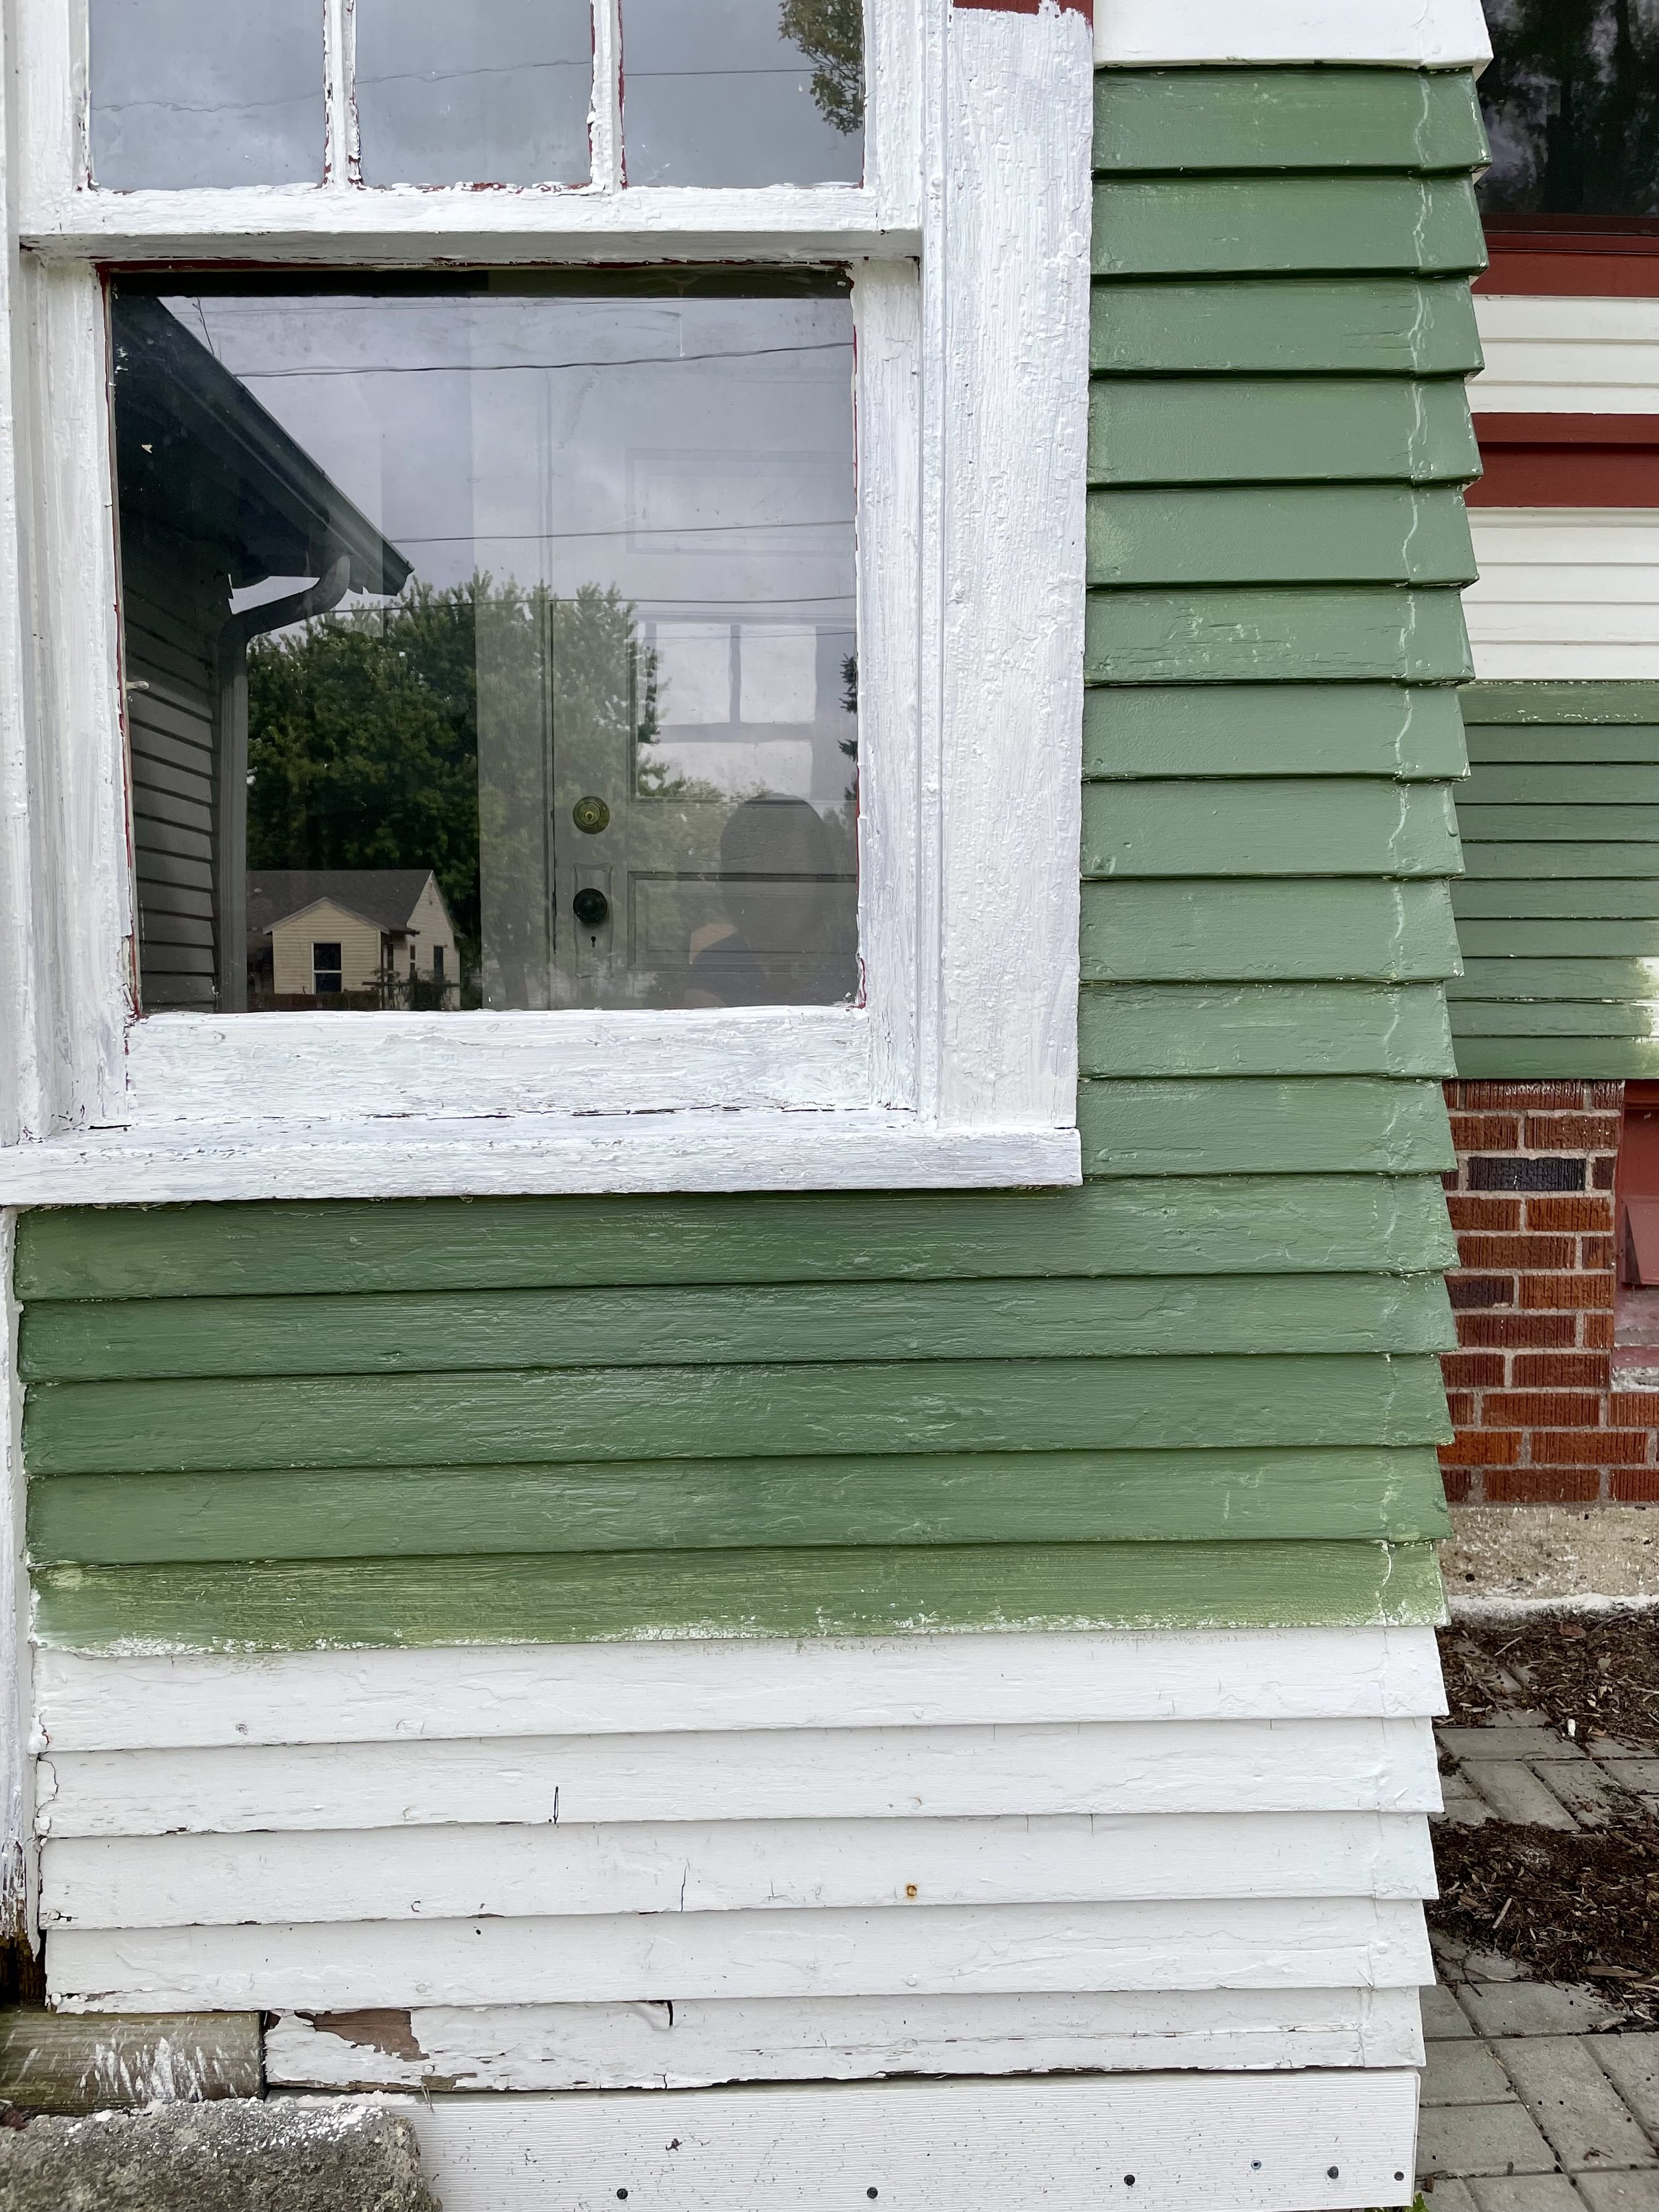
I decided I wanted the exterior of the house to be green again. I picked up a sample from Sherwin Williams. It won’t be the same shade as in the old photo I had but no one knows for certain what color the house was when it was first built. The problem was the red brick. I decided to keep the brick its original color. By the way, this original window ended up coming out to move the back door over a bit and would keep this area a bit warmer from the cold winters. The little mudroom has four doors, and three have glass in them so there would be enough light without keeping this window. There were two other single-pane windows in the house upstairs that were original that I had replaced, too.
This is the kitchen after it was gutted. The tall, closed-in area above the opening was where the door that ran from the front entry and upstairs used to be. The opening is where a heater was placed under the stairs that went into the kitchen. It had to be replaced. The gap leads to the basement.
The bathroom floor was covered with linoleum and the shower, and the cracked toilet were removed. I decided not to strip the white paint from the original built-in cabinet to help protect it from moisture.
I had the contractor sheetrock the ceiling since the original ceiling had a lot of cracks in it. It would be easier and more budget-friendly to do it this way than have him try to fix the ceiling and match the paint texture. Because the house runs on a boiler for heating, a family member made new wooden radiator covers. We found videos on YouTube to explain this DIY. I think they look great! Here, he was just installing them to see how well they fit. The top board would be painted the same color, too.
There is a light fixture in front of the closet which only reaffirms this was a separate room. Maybe it could have been a dressing room with a vanity? I need to look at the blueprints again!
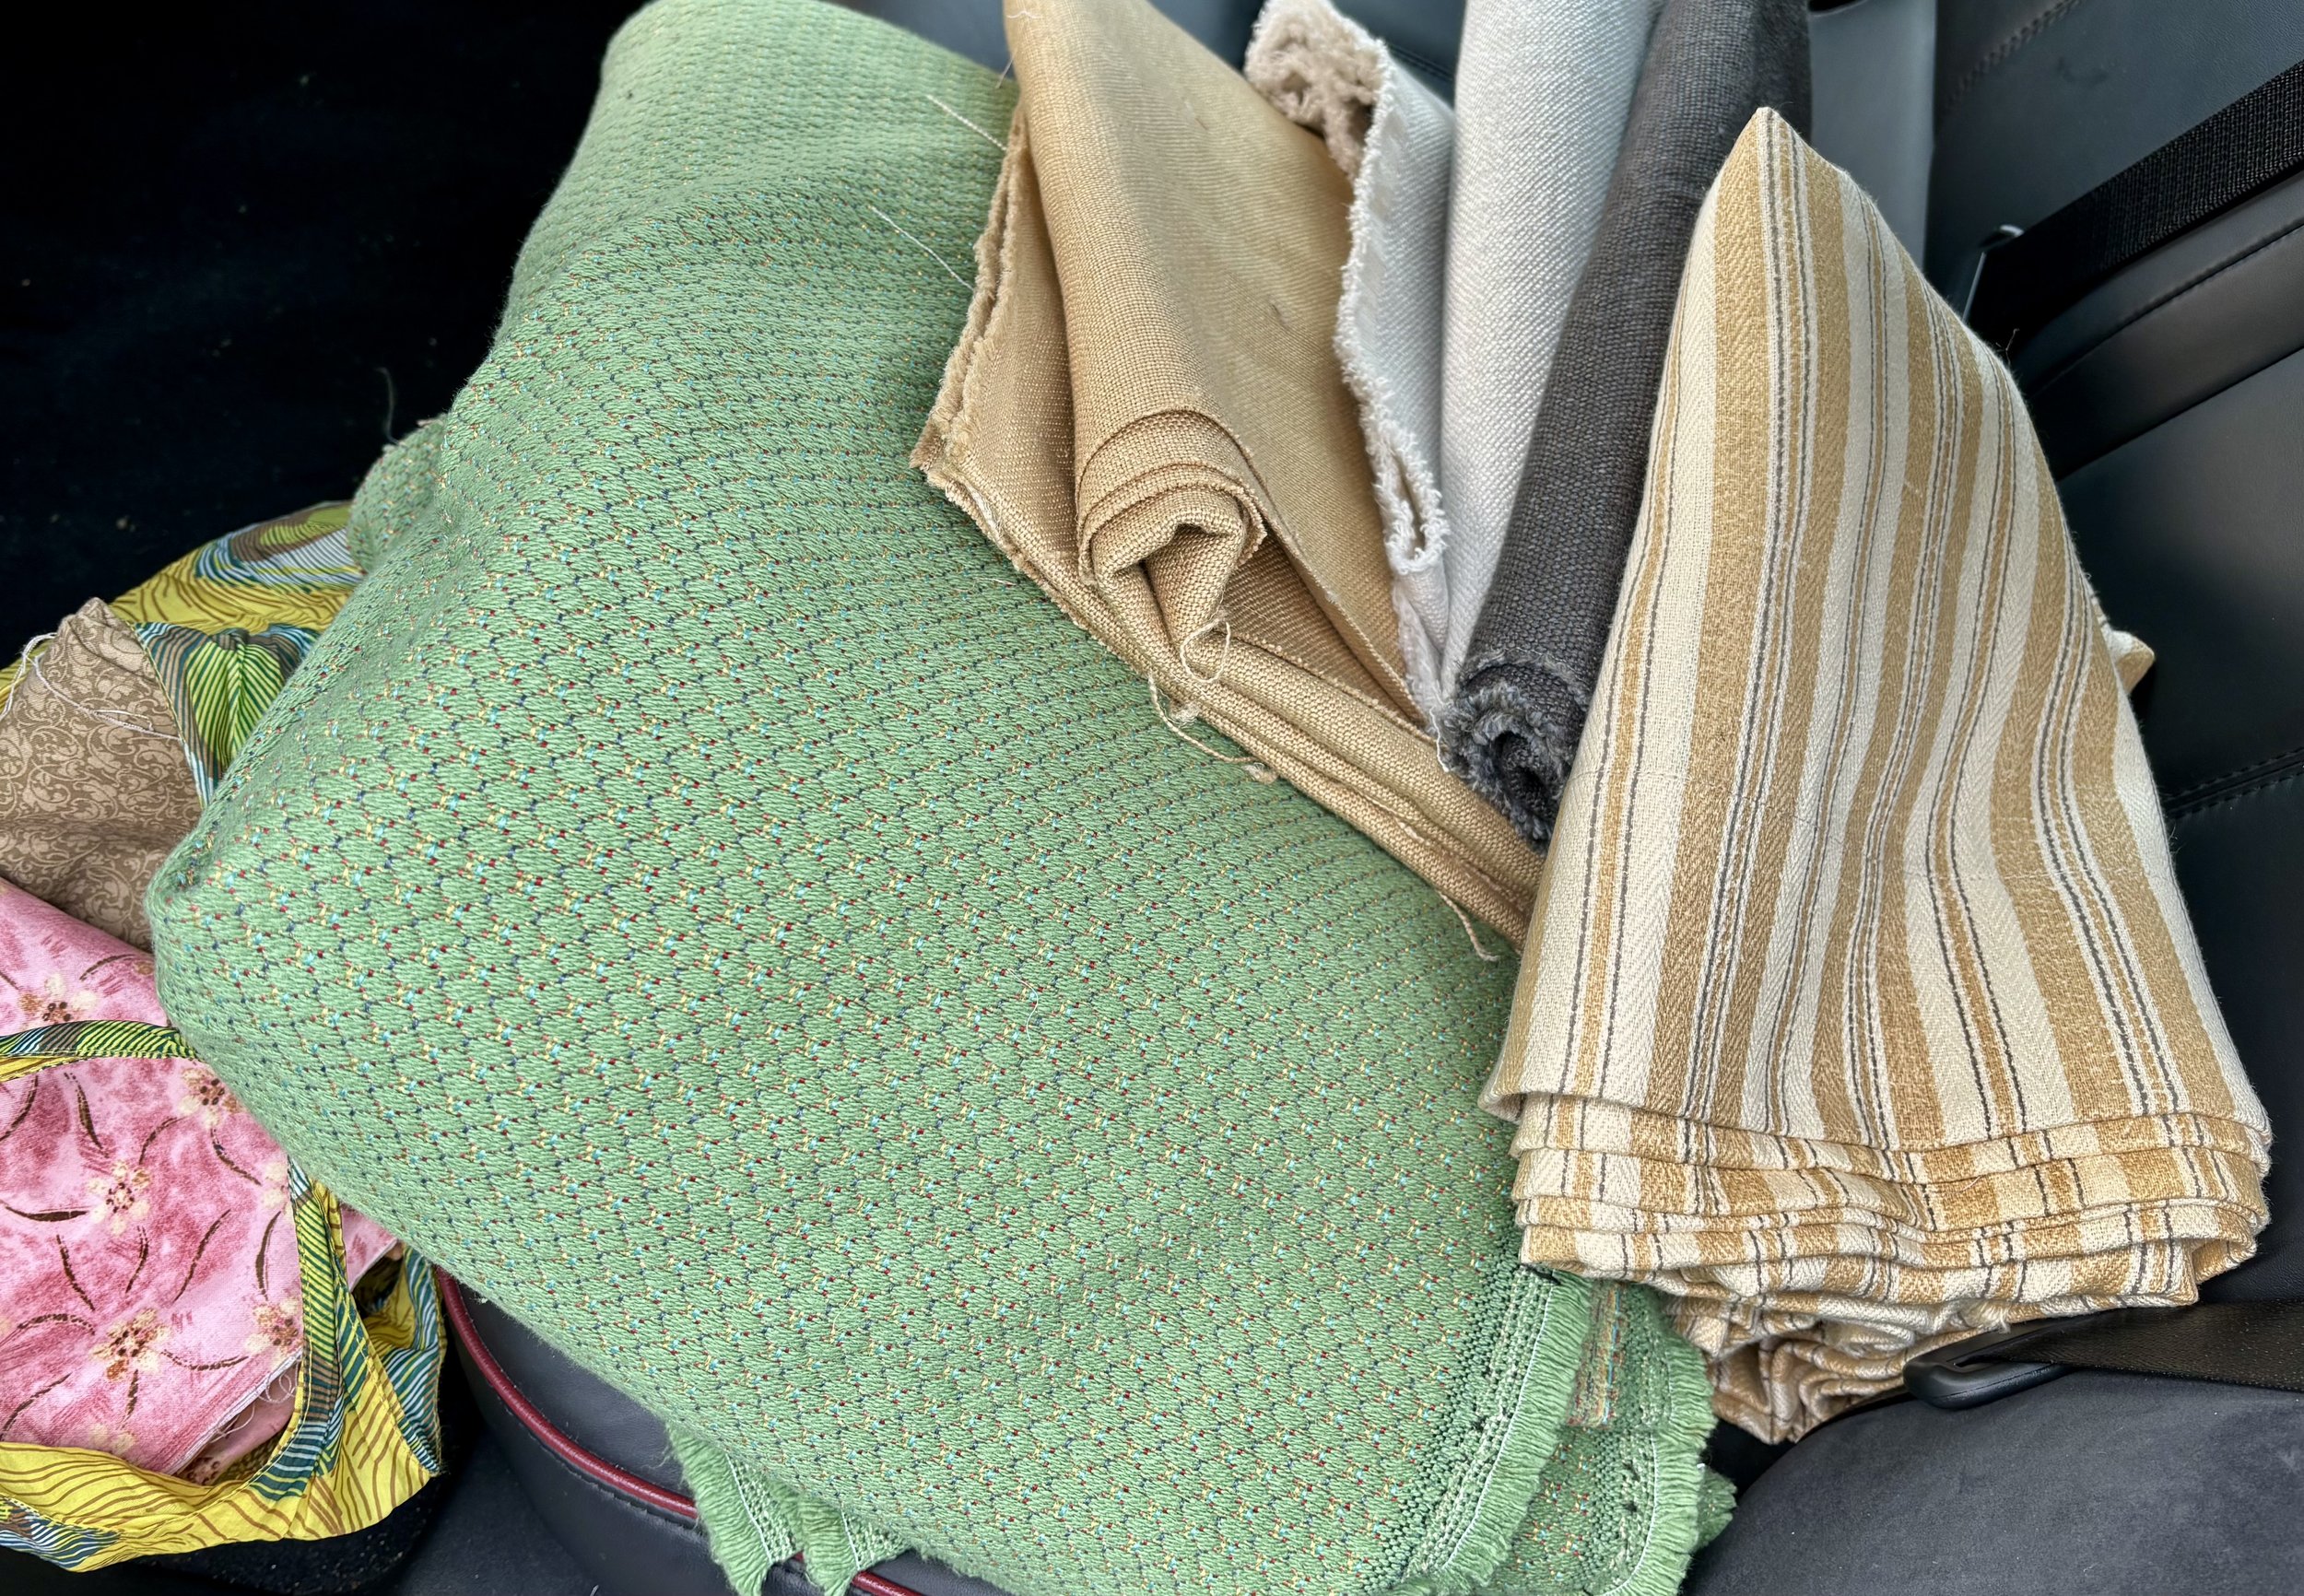
There is an organization in my area that sells fabric remnants used in high-end projects for practically pennies! I bought all this wonderful fabric (many in the yellow bag) that will be used to reupholster chairs, make cushions covers and window treatments. I, unfortunately, don’t sew but my sister does!
My sister did a test try using the green fabric on a chair I bought from a consignment shop. I love the color! I haven’t decided what I will do with the wood on the chair yet but I think the finish goes well with the fabric.
